Deploy your own Vercel instance #383
Description
I just deployed my own instance and would like to share my experience.
The final result can be viewed at @cy-Yin : https://github.com/cy-Yin
Similar to github-readme-stats/deploy-on-your-own, with some details modified.
- get your Personal Access Token (PAT)
For deploying your own instance of GitHub Readme Stats, you will need to create a GitHub Personal Access Token (PAT).
- Go to Account -> Settings -> Developer Settings -> Personal access tokens -> Tokens (classic).
- Click on
Generate new token->Generate new token (classic). - Scopes to select:
- repo
- read:user
- Click on Generate token and copy it (Note that this token is not visible after refreshing the website).
- Vercel deployment
- Go to vercel.com.
- Click on
Log in. - Sign in with GitHub by pressing
Continue with GitHub. - Sign in to GitHub and allow access to all repositories if prompted.
- Fork this repo.
- Go back to your Vercel dashboard.
- To import a project, click the
Add New...button and select theProjectoption. - Click the
Continue with GitHubbutton, search for the required Git Repository and import it by clicking theImportbutton. Alternatively, you can import a Third-Party Git Repository using theImport Third-Party Git Repository ->link at the bottom of the page. - Create a Personal Access Token (PAT) as described in the previous section.
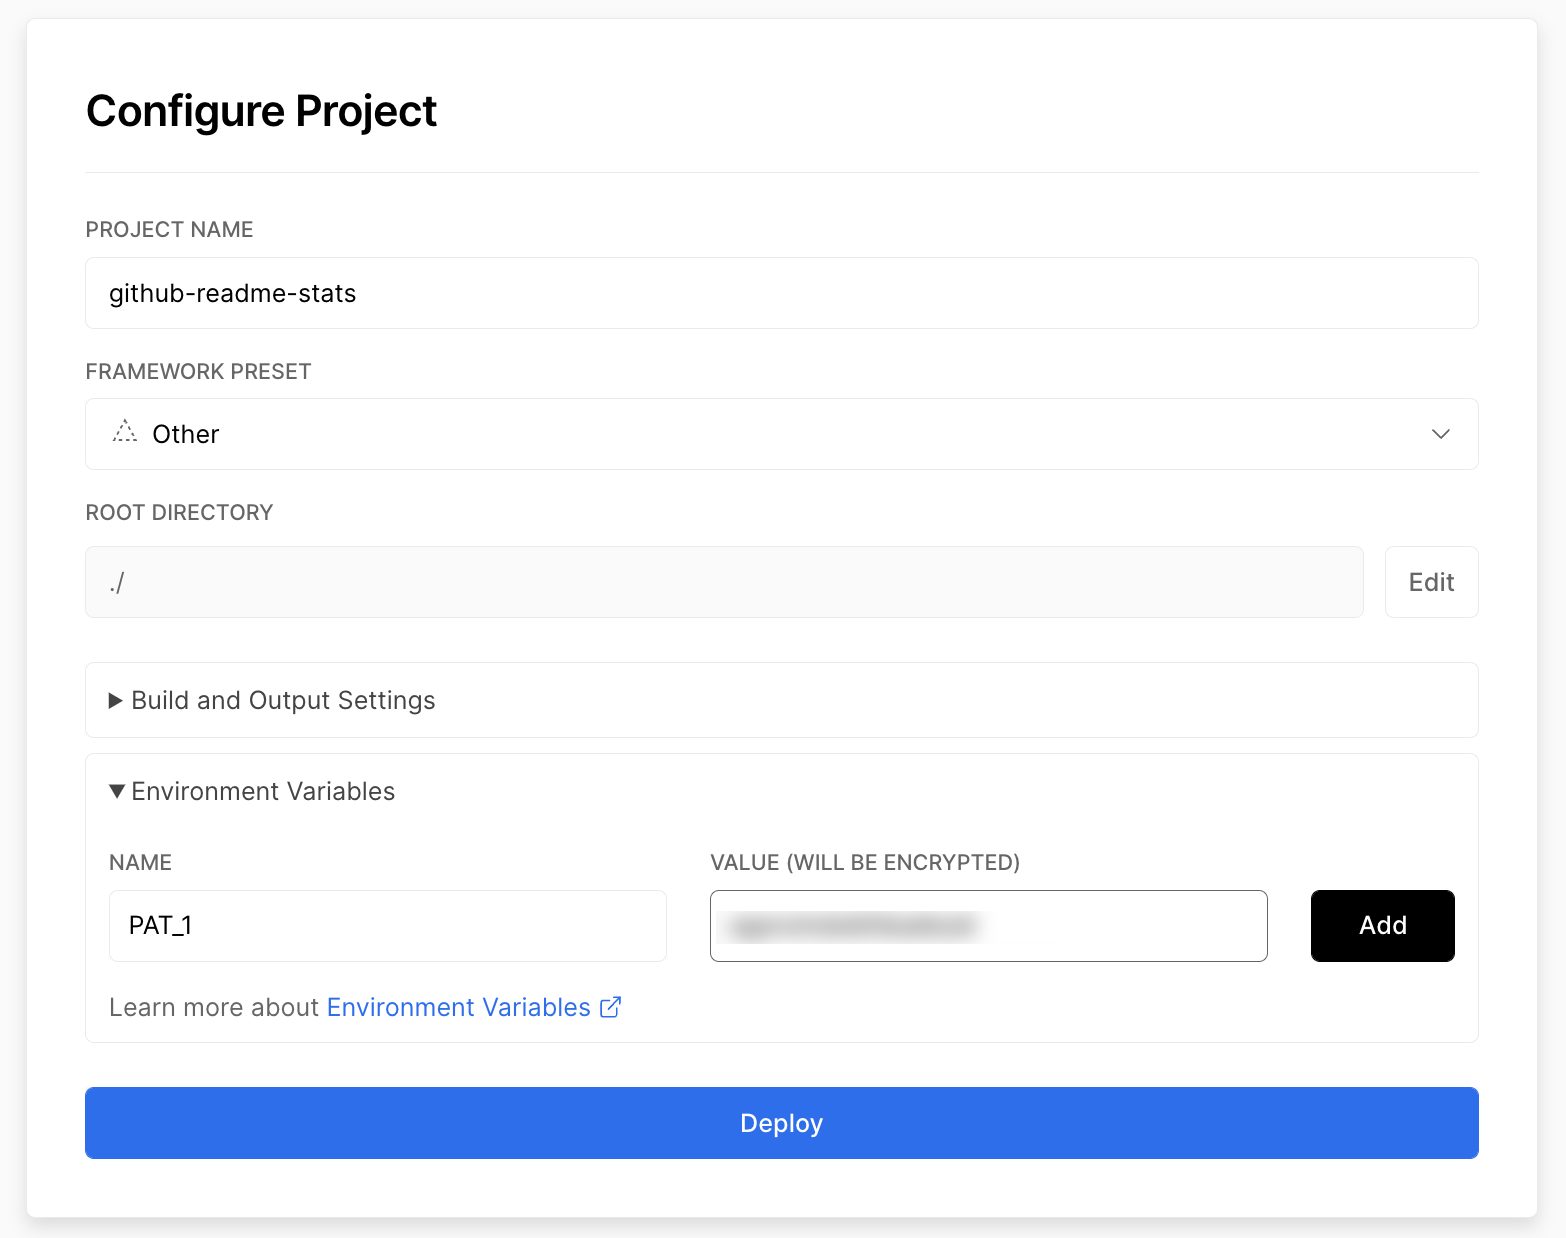
- Add the PAT as an
environment variablenamedGITHUB_TOKEN1
Note
Very important: Note that in the github-readme-stats repo, the environment variable is named as PAT_1 as shown below. However, in this repo one must name this environment variable as GITHUB_TOKEN1. I have tried GITHUB_TOKEN, PAT_1, etc., only the GITHUB_TOKEN1 works.
- Click deploy, and you're good to go. See your domains to use the API!